2.1 LVGL Hello World
Verify that LVGL, the display, and the touch panel are all working with a minimal test screen.
Overview
This is the simplest possible LVGL application — a single centred text label. It confirms that the TFT display is rendering, LVGL’s task handler is running, and the touch panel is detected.
What You’ll Learn
How the shared
Displayclass initialises the hardware (display + touch + LVGL)The minimum
setup()andloop()structure for every LVGL projectCreating and centring a label widget
Before You Begin
Complete the setup steps in Preparation before continuing.
Note
Use the recommended Arduino IDE settings in Recommended Board Settings unless this lesson says otherwise.
Open the example sketch from the code package:
LAFVIN-ESP32-S3-Multimedia-Kit-main/2.LVGL/01_LVGL_Test/01_LVGL_Test.ino
Upload and Test
Connect the board with a USB Type-C data cable.
Open
01_LVGL_Test.inoin Arduino IDE.In the Tools menu, select
ESP32S3 Dev Moduleas the board and choose the correct serial port.Click Upload.
After uploading, the TFT screen shows “TEST” followed by “Hello World!” and “Arduino LVGL”, all centred on a white background.
If the screen stays blank, check that the TFT_eSPI library has been configured for this board’s display pins (see Install Local Libraries).
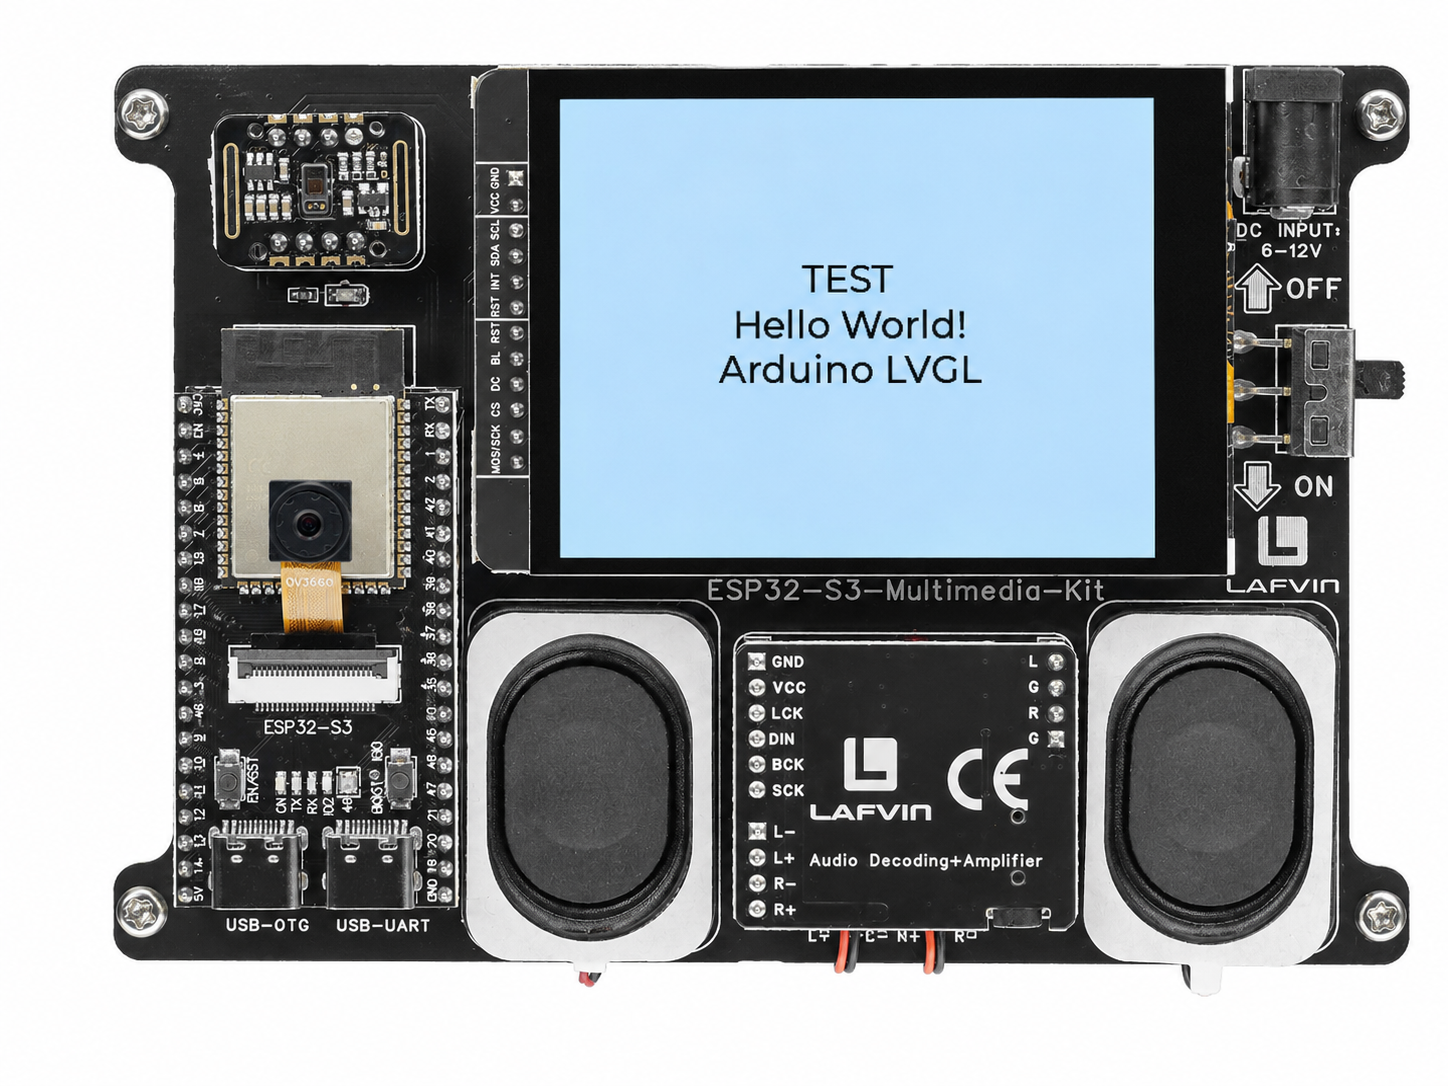
How the Code Works
This minimal sketch is self-contained in 01_LVGL_Test.ino.
The Display Class
Every LVGL project in this kit shares the same Display class (found in display.h and display.cpp). It handles:
FT6336U touch controller initialisation (I2C: SDA=2, SCL=1)
TFT_eSPI display driver initialisation (SPI, landscape 320×240)
LVGL core initialisation (
lv_init(), display driver, input device driver)
#include "display.h"

Display screen;

void setup() {
    Serial.begin(115200);
    screen.init();  // Hardware + LVGL ready

    // Add your widgets here...
}

void loop() {
    screen.routine();  // Calls lv_timer_handler() at ~200Hz
    delay(5);
}
The Label Widget
The sketch sets a white background, creates a centred label with three lines of text, and applies a montserrat_20 font style with centre alignment.
lv_obj_set_style_bg_color(lv_scr_act(), lv_color_white(), 0);
lv_obj_set_style_bg_opa(lv_scr_act(), LV_OPA_COVER, 0);

lv_obj_t *label = lv_label_create(lv_scr_act());
lv_label_set_text(label, "TEST\nHello World!\nArduino LVGL");
lv_obj_align(label, LV_ALIGN_CENTER, 0, 0);

static lv_style_t style;
lv_style_init(&style);
lv_style_set_text_font(&style, &lv_font_montserrat_20);
lv_style_set_text_align(&style, LV_TEXT_ALIGN_CENTER);
lv_obj_add_style(label, &style, 0);
In the provided sketch:
lv_scr_act()returns the currently active screen — the starting point for every widgetlv_obj_align()withLV_ALIGN_CENTERcentres the label within the screenThe font must be enabled in
lv_conf.h—montserrat_20is enabled by default in this kit’s configuration
Try This Next
Change the text to your own message
Add
lv_obj_set_style_text_color(label, lv_palette_main(LV_PALETTE_RED), 0);to change the text colour