2.5 Embedded Image Display
Display a full-screen bitmap image compiled directly into the firmware.
Overview
LVGL can display images stored as C arrays in program memory — no SD card required. This example shows a 240×320 painting embedded in the sketch, demonstrating how to convert and use static images for splash screens, icons, and backgrounds.
What You’ll Learn
Converting images to LVGL-compatible C arrays with the LVGL Image Converter
Creating an LVGL image object (
lv_img)Using the
lv_img_dsc_timage descriptor structure
Before You Begin
Complete the setup steps in Preparation before continuing.
Note
Use the recommended Arduino IDE settings in Recommended Board Settings unless this lesson says otherwise.
Open the example sketch from the code package:
LAFVIN-ESP32-S3-Multimedia-Kit-main/2.LVGL/05_LVGL_Image/05_LVGL_Image.ino
Upload and Test
Connect the board with a USB Type-C data cable.
Open
05_LVGL_Image.inoin Arduino IDE.In the Tools menu, select
ESP32S3 Dev Moduleas the board and choose the correct serial port.Click Upload.
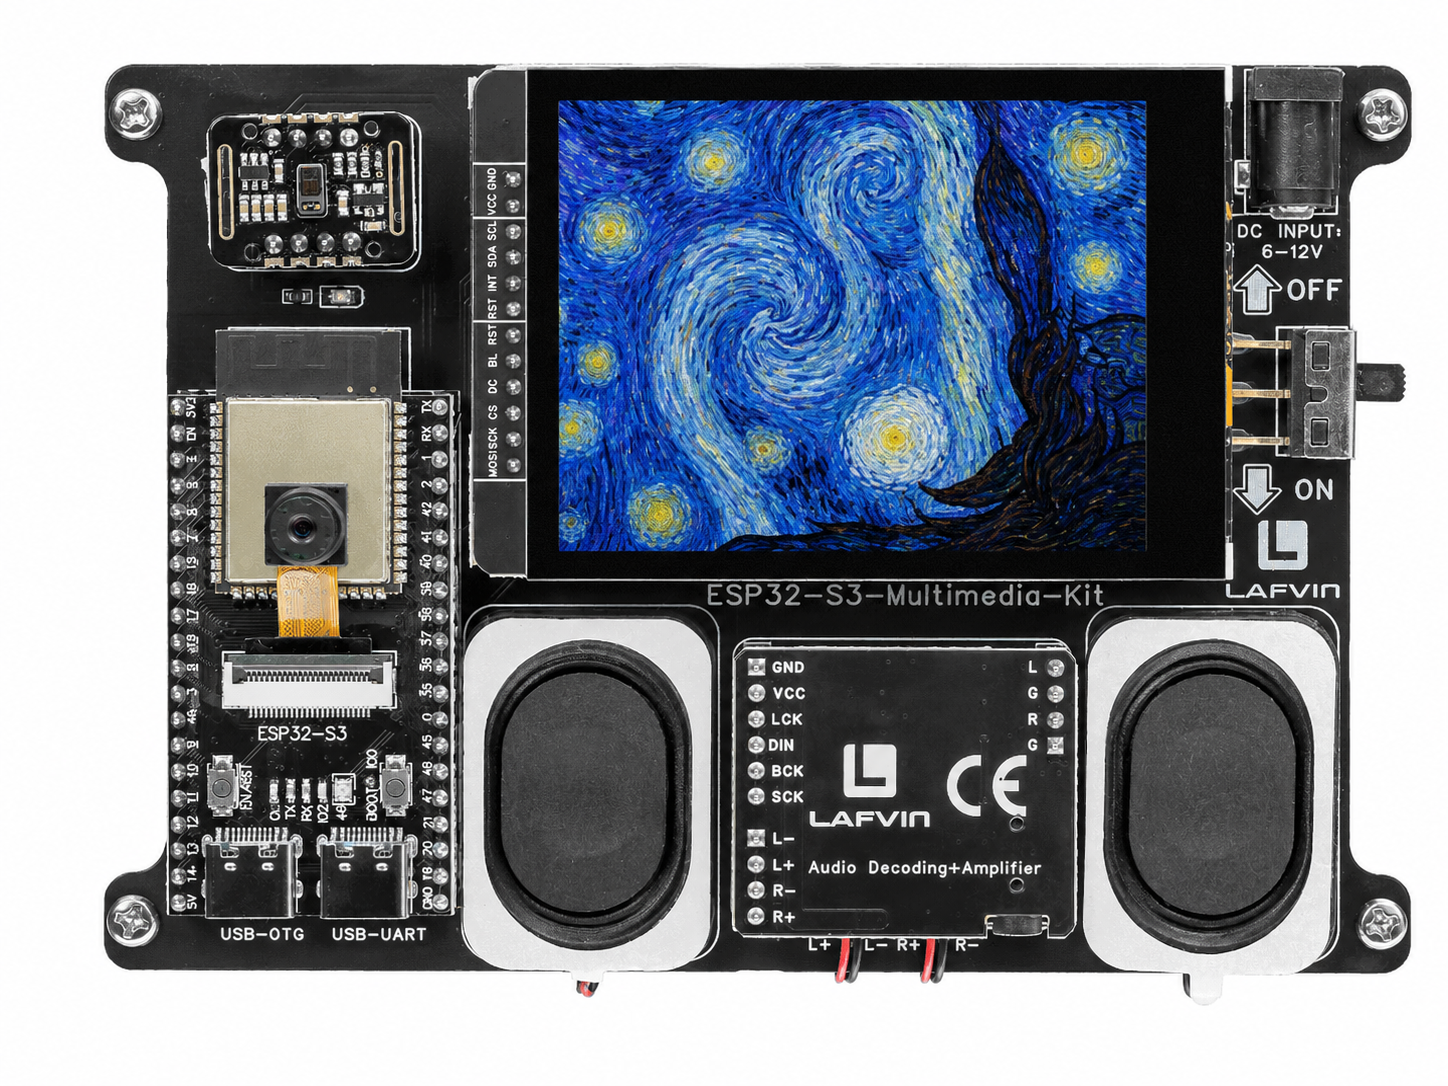
After uploading, the screen displays a 240×320 pixel “StarryNight” painting, with the caption “StarryNight Image / 240x320 from C array” at the bottom.
How the Code Works
The image is embedded as a C array in StarryNight.c, generated by the LVGL Image Converter, and declared as extern in image_data.h.
Image Descriptor
The generated file defines the raw RGB565 pixel data in StarryNight_map[] and wraps it in an lv_img_dsc_t descriptor that tells LVGL the colour format, dimensions, and data size.
const LV_ATTRIBUTE_MEM_ALIGN LV_ATTRIBUTE_LARGE_CONST LV_ATTRIBUTE_IMG_STARRYNIGHT
uint8_t StarryNight_map[] = {
  // 240 × 320 pixels of RGB565 data ...
};

const lv_img_dsc_t StarryNight = {
  .header.cf = LV_IMG_CF_TRUE_COLOR,
  .header.always_zero = 0,
  .header.reserved = 0,
  .header.w = 240,
  .header.h = 320,
  .data_size = 76800 * LV_COLOR_SIZE / 8,
  .data = StarryNight_map,
};
Displaying the Image
The sketch creates an lv_img object, sets its source to the descriptor, and centres it on the screen. A title label and description are added above and below the image.
lv_obj_t * img = lv_img_create(lv_scr_act());
lv_img_set_src(img, &StarryNight);
lv_obj_align(img, LV_ALIGN_CENTER, 0, 0);

lv_obj_t * label_info = lv_label_create(lv_scr_act());
lv_label_set_text(label_info, "StarryNight Image\n240x320 from C array");
lv_obj_align(label_info, LV_ALIGN_BOTTOM_MID, 0, -20);
lv_obj_set_style_text_align(label_info, LV_TEXT_ALIGN_CENTER, 0);
In the provided sketch:
image_data.hprovides theexterndeclaration soStarryNightis visible to05_LVGL_Image.inoThe image is 240×320 pixels — 320 px tall in portrait orientation, filling the display closely
LV_ATTRIBUTE_MEM_ALIGNandLV_ATTRIBUTE_LARGE_CONSTare architecture-specific macros that ensure the data is placed correctly in flash memory
Try This Next
Convert your own image using the LVGL Image Converter
Use a smaller image (e.g., 64×64) as an icon for a button
For dynamic images loaded from SD card, see 2.8 SD Card Photo Gallery