2.8 SD Card Photo Gallery
Browse and display BMP images stored on the SD card with a touch-friendly photo gallery.
Overview
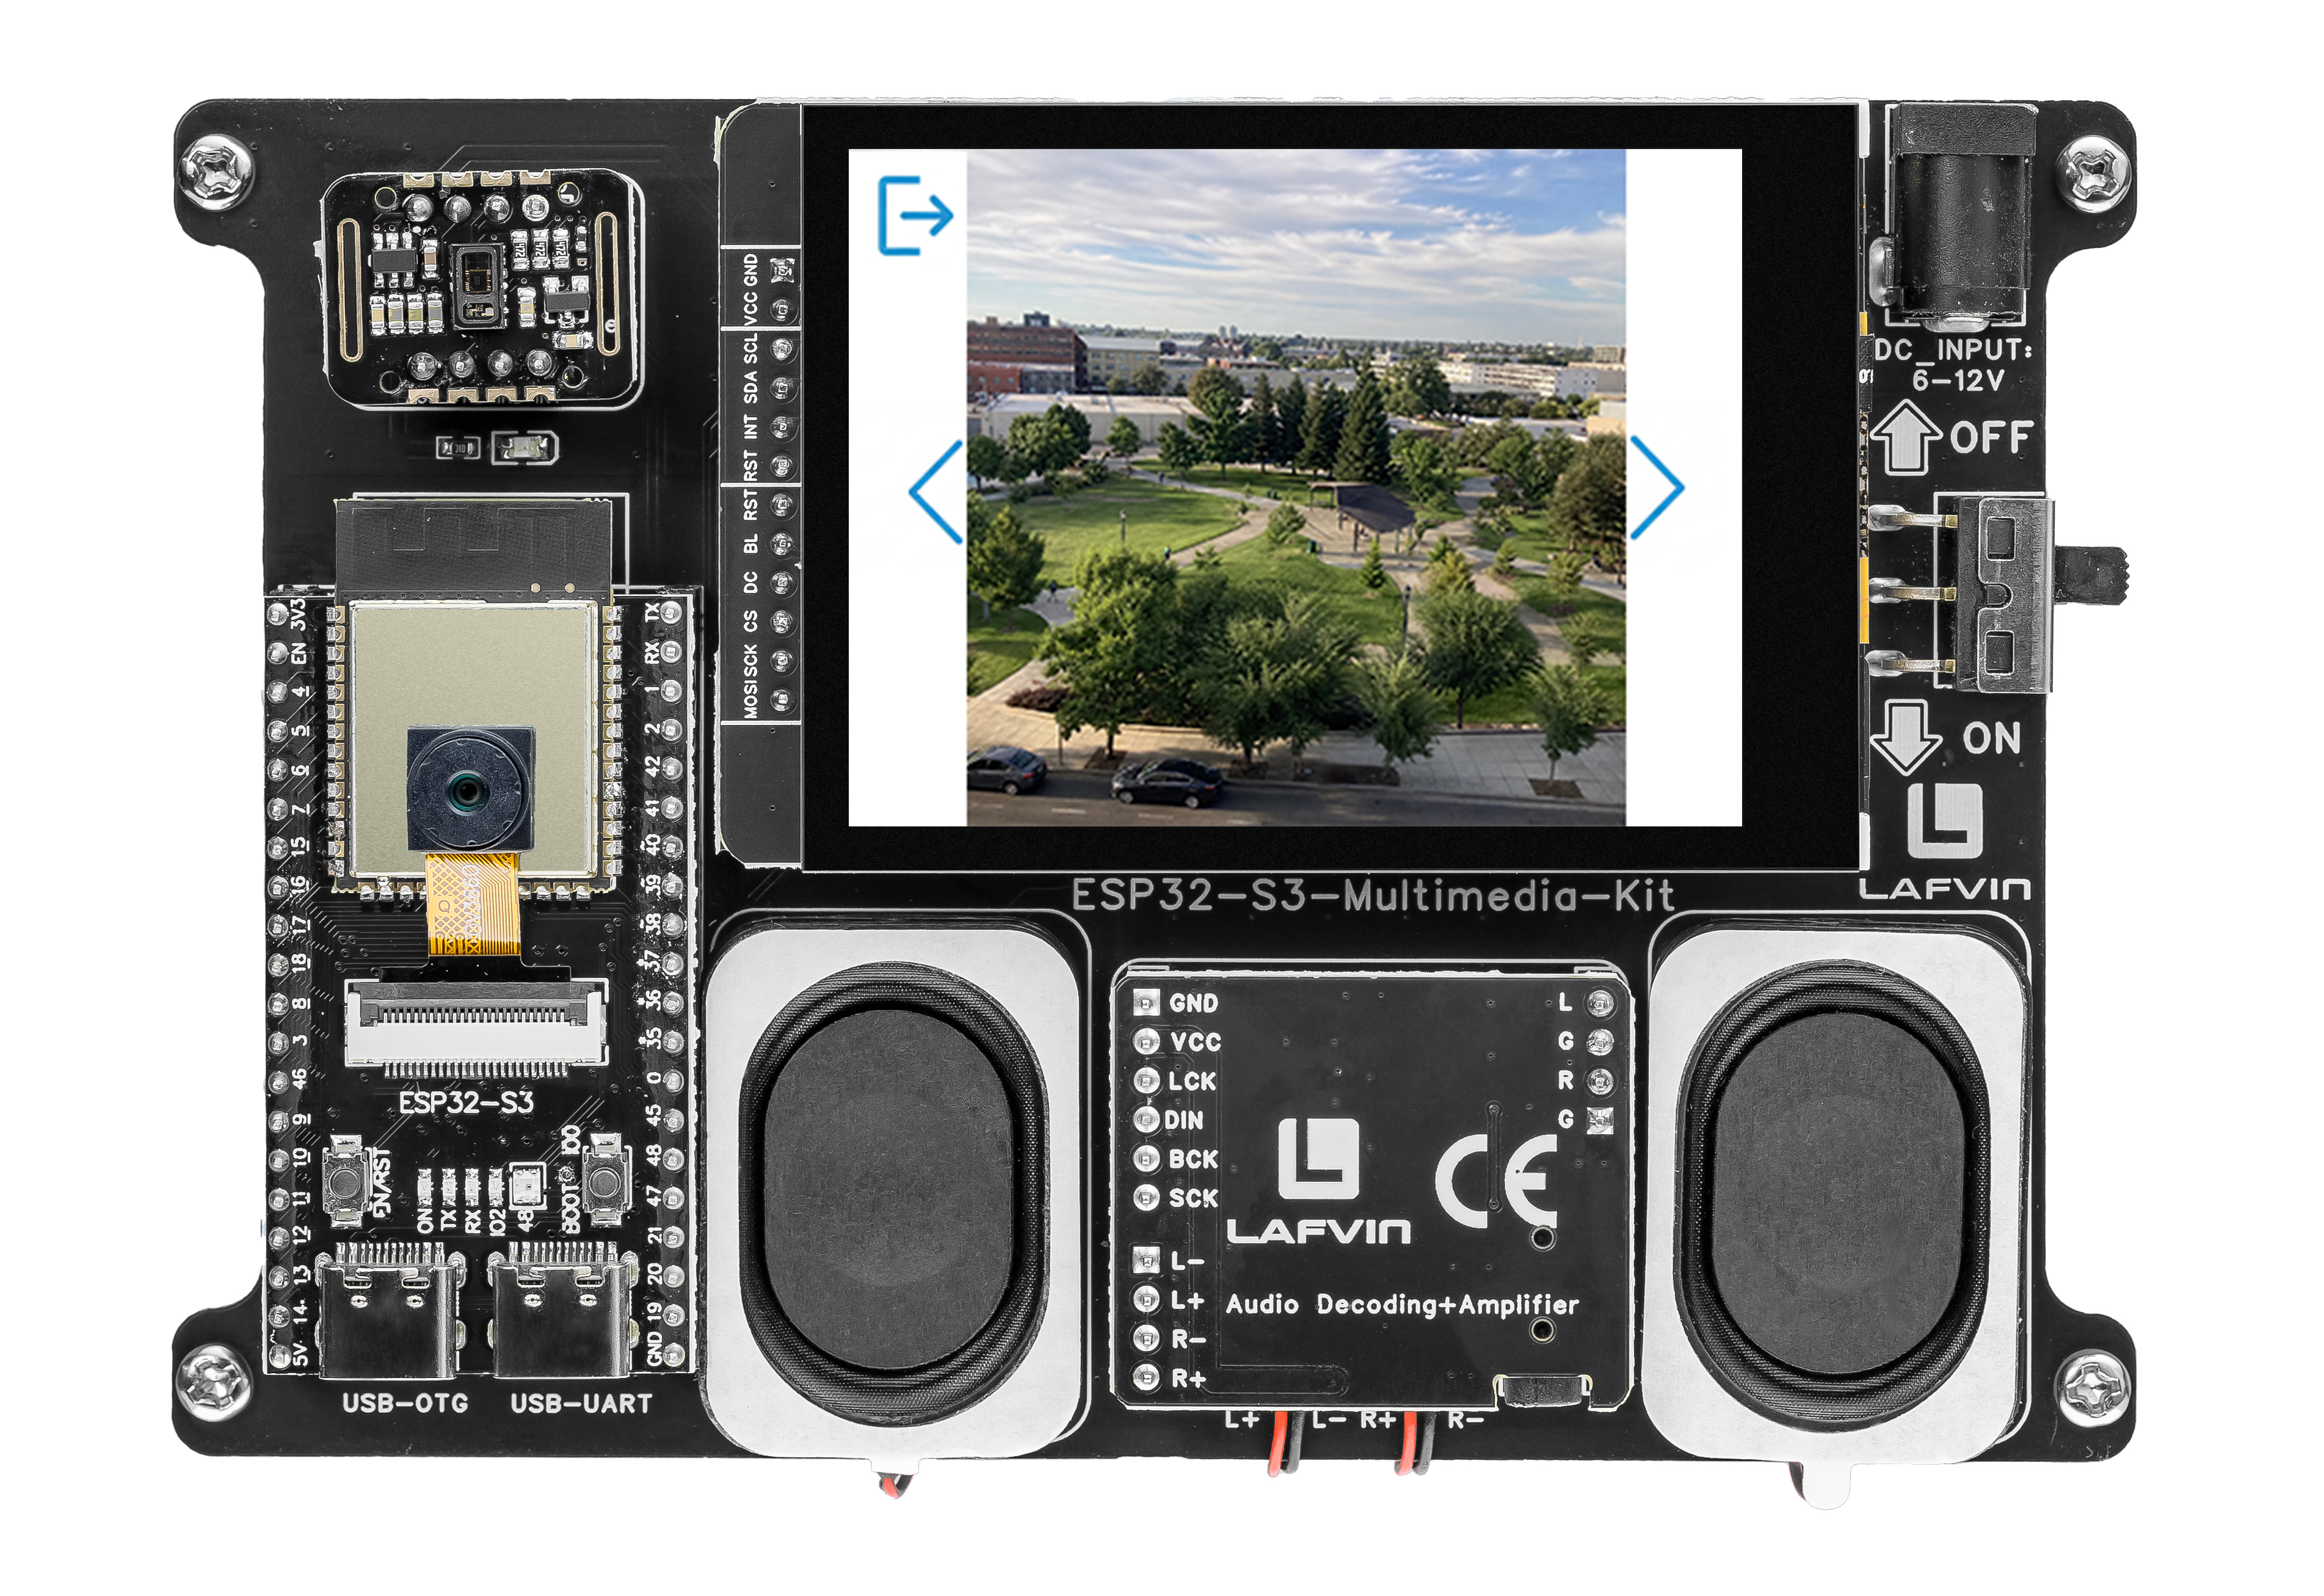
This example creates a photo viewer application. It scans the SD card’s /picture/ folder for BMP images, builds a navigation list, and lets you browse through photos with left/right arrow buttons.
What You’ll Learn
Scanning a directory for specific file types
Building a list of file paths in memory
Loading and displaying BMP images from the SD card
Implementing gallery-style navigation (previous, next, Back)
Before You Begin
Complete the setup steps in Preparation before continuing.
Note
Use the recommended Arduino IDE settings in Recommended Board Settings unless this lesson says otherwise.
Open the example sketch from the code package:
LAFVIN-ESP32-S3-Multimedia-Kit-main/2.LVGL/08_LVGL_Gallery/08_LVGL_Gallery.ino
Note
Before uploading, create a /picture/ folder on your SD card and place some 240×240 BMP images inside. The photos you captured in 2.7 Camera Live Preview and Capture will appear here automatically.
Upload and Test
Insert a Micro SD card with BMP images in the
/picture/folder.Connect the board with a USB Type-C data cable.
Open
08_LVGL_Gallery.inoin Arduino IDE.In the Tools menu, select
ESP32S3 Dev Moduleas the board and choose the correct serial port.Click Upload.
After uploading:
The first photo from
/picture/is displayedTap the right arrow to view the next photo
Tap the left arrow to view the previous photo
Tap the home icon (top-left corner) to return
How the Code Works
The gallery logic is mainly implemented in picture_ui.cpp.
BMP Loading from SD
Rather than relying on LVGL’s built-in BMP decoder, the gallery includes a custom load_bmp_from_sd() function that parses the BMP header, validates the format (16-bit RGB565, 240×240, BI_RGB or BI_BITFIELDS compression), and reads each row into a reusable pixel buffer. The function supports both top-down and bottom-up row ordering.
static bool load_bmp_from_sd(const char *name) {
  if (name == NULL || !picture_buffer_init()) {
    return false;
  }

  String file_path = String("/picture/") + name;
  File file = SD_MMC.open(file_path.c_str(), FILE_READ);
  if (!file) {
    return false;
  }

  const uint16_t signature = read_u16_le(file);
  if (signature != 0x4D42) {
    file.close();
    return false;
  }

  // ... read header fields: data_offset, width, height, bit_count, compression ...

  if (header_size < 40 || planes != 1 || bit_count != 16) {
    file.close();
    return false;
  }

  if (width != 240 || (height != 240 && height != -240)) {
    file.close();
    return false;
  }

  const bool bottom_up = (height > 0);
  const uint32_t row_size = 240 * 2;
  uint8_t row_buffer[row_size];

  for (int row = 0; row < 240; ++row) {
    const uint32_t bmp_row = bottom_up ? (239 - row) : row;
    if (!file.seek(data_offset + bmp_row * row_size)) {
      file.close();
      return false;
    }

    const size_t read_len = file.read(row_buffer, row_size);
    if (read_len != row_size) {
      file.close();
      return false;
    }

    memcpy(s_bmp_pixels + row * row_size, row_buffer, row_size);
  }

  file.close();
  return true;
}
Each row is read individually via file.seek() and file.read(), avoiding the need for a full-file buffer.
Image Buffer Management
A single 240×240×2 byte buffer (s_bmp_pixels) is allocated once from PSRAM (falling back to internal RAM). The buffer is wrapped in a static lv_img_dsc_t descriptor (s_bmp_img_dsc) that is reused for every displayed image.
static bool picture_buffer_init() {
  if (s_bmp_pixels != NULL) {
    return true;
  }

  const size_t image_size = 240 * 240 * 2;
  s_bmp_pixels = (uint8_t *)heap_caps_malloc(image_size, MALLOC_CAP_SPIRAM | MALLOC_CAP_8BIT);
  if (s_bmp_pixels == NULL) {
    s_bmp_pixels = (uint8_t *)heap_caps_malloc(image_size, MALLOC_CAP_8BIT);
  }
  // ... null check ...

  s_bmp_img_dsc.header.cf = LV_IMG_CF_TRUE_COLOR;
  s_bmp_img_dsc.header.w = 240;
  s_bmp_img_dsc.header.h = 240;
  s_bmp_img_dsc.data_size = image_size;
  s_bmp_img_dsc.data = s_bmp_pixels;
  s_bmp_ready = true;
  return true;
}
The picture_imgbtn_display() function orchestrates the pipeline: it calls load_bmp_from_sd(), then sets the descriptor as the image source and invalidates the display object.
Navigation with Wrap-Around
The left and right arrow buttons increment or decrement a 1-based index (picture_index_num). When the index goes below 1 it wraps to the last photo; when it exceeds the count it wraps to the first.
static void picture_imgbtn_left_event_handler(lv_event_t *e) {
  if (lv_event_get_code(e) == LV_EVENT_CLICKED) {
    picture_index_num--;
    if (picture_index_num < 1) {
      picture_index_num = list_count_number(list_picture);
    }
    picture_imgbtn_display(list_find_node(list_picture, picture_index_num));
  }
}

static void picture_imgbtn_right_event_handler(lv_event_t *e) {
  if (lv_event_get_code(e) == LV_EVENT_CLICKED) {
    picture_index_num++;
    if (picture_index_num > list_count_number(list_picture)) {
      picture_index_num = 1;
    }
    picture_imgbtn_display(list_find_node(list_picture, picture_index_num));
  }
}
In the provided sketch:
File paths are stored in a linked list (
list_picture) populated bysetup_list_head_picture(), which scans/picture/for.bmpfilesThe home button (top-left) and left/right arrow buttons use
lv_imgbtnwith transparent backgrounds — only the icon images are visibleNavigation buttons are 60×60 px and positioned at the left and right edges of the screen
Try This Next
Add a “slideshow” mode that auto-advances every few seconds
Display the filename or image number at the bottom of the screen
Sort the photos alphabetically or by file date